
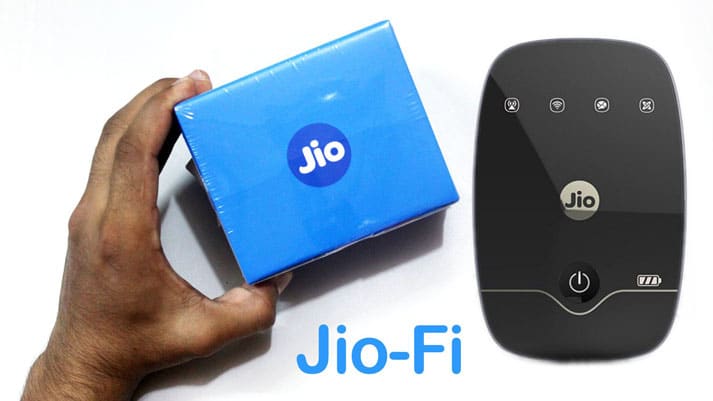
 First of all, let me help you to get familiar with JioFi Dongle device. This device allows the possibility to the multiple users with many mobile devices to access Jio 4G high speed internet connection and produce portable WiFi hotspot. The LYF-powered JioFi WIFi device can support simultaneously connection by many users, minimum of 10 devices + 1 USB connection at the same time.
It depends on the type of your equipment, some JioFi devices can support up to 31 connected users concurrently. When we talk about those different versions of JioFi devices, we should mention JioFi Dongle 1, JioFi Dongle 2 and JioFi Dongle 3. When you purchase any of these devices, you can easily set up and prepare it for use. Open your internet browser and enter jiofi.local.html in search bar. It will open a page where you can log in with your SSID userID and password and get to JioFi 2/3 Admin Dashboard.
Contents
- 1 Jiofi.local.html: Everything you need to know
- 2 How to Enter Router’s Admin Page
- 3 How Can You Adjust and Configure Settings on Your Jiofi Portable Hotspot Device
- 4 How to Log in Jiofi.local.html and Change Password on Your Device
- 5 Connecting your Personal Computer with JioFi WiFi Hotspot Device
- 6 Learn How to Access MicroSD Card Slot via JioFi Router
- 7 Features and Characteristics of Your JioFi Device
- 8 Set Up Your JioFi 3 Portable Hotspot Device
- 9 How to Log in via Jiofi.local.html and Set Up JioFi 3 MiFi Device
- 10 Changing SSID and Password on Your Jiofi 3 Router
Jiofi.local.html: Everything you need to know
First time, you will need to enter username and password which will be written on the back of the device’s box, but later you will be able to create your own, safe and unique username and password. In case that you forgot password or need to change it, don’t worry because that could be done easily, just follow this link https://jiofi-local-html.com/change-jiofi-name-ssid-password and check out this simple changing username and password step by step guide.
Last year Reliance Jio introduced Jio Telecom services, a brand new revolutionary production which provides 4G internet and other telecom services to its users. With the help of Reliance Digital, they produced a quality service, which was a rapid change in telecom industry. There was no company before that provided that kind of features for affordable prices. It is not only about 4G services in India, Jio even went a step further with new offers which includes voices and video calls, 4G data usages and more. Later on, Reliance DIgital introduced new device called Jio MiFi Dongle, new portable hotspot device which provides you with high-speed unlimited data internet no matter where you are.
After production of these mini portable WiFi hotspot devices, company introduced two more types of Dongle routers, JioFi 2 and JioFi 3. These two products raised WiFi services to a next level. With the help of JioFi routers you don’t have access to high-speed 4G WiFi connection only at home, you have the possibility to carry it with you all the time, no matter where you are going.
How to Enter Router’s Admin Page
To be able to enter admin page, you should open your internet browser and type in jiofi.local.html or 192.168.l.l in address bar. By clicking on it you will get to dashboard page where you can manage settings and options such as: WiFi network name and password, IP QoS, DNS, Proxy, LAN, WAN, network management, security options, WLAN settings, PPPoE, MAC, WPS, DSL, and DHCP client.
How Can You Adjust and Configure Settings on Your Jiofi Portable Hotspot Device
For some users, it might be hard and confusing to setup JioFi routers and prepare it for use. Therefore, we decided to offer you step by step guide where you can get all the information you need, explained in detail, so you can start your router without any problem at all.
- Step 1 – After you purchase JioFi, open the box in which you will find Router, Adaptor, Cable and Battery.
- Step 2 – Remove the backplate from your device and insert your Jio SIM and battery. Make sure that you’ve done it properly, the chip of SIM card must be faced down.
- Step 3 – Press the power button and hold it until the device is ON.
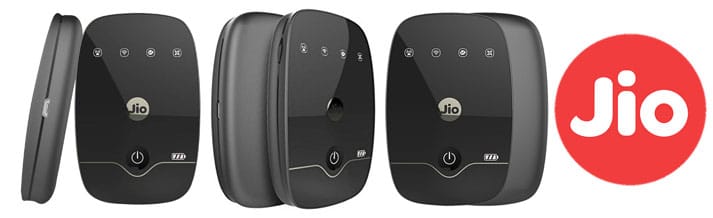
- Step 4 – Then you will notice few lights, which are Signal indicator, WiFi indicator and Battery indicator.
- Step 5 – Check out indicators, if the Signal indicator is Green or Blue, your JioFi has good network coverage.
After all these steps are finished, your device is set up and you can use it.
What is jiofi.local.html ?
As you probably already know, every router has an IP address and by using that address you are able to access the administrator dashboard to manage and adjust settings on your hotspot device. After you enter IP address in search box of your internet browser you will notice a login page. Beside using IP address, you can also use URL jiofi.local.html via browser on your PC, laptop or smartphone previously connected to JioFi internet to enter admin page and change settings on your device.
To successfully login use your username and password, or by default type in ‘administrator’ in both fields. After entering dashboard of your router, you may configure SSID, WiFi passwords, or monitor and manage any device connected to the hotspot.
How to Log in Jiofi.local.html and Change Password on Your Device
- Step 1 – Open the web browser and enter URL http://jiofi.local.html.
- Step 2 – You will be asked to enter User ID and password. Enter ‘administrator’ in both fields. Make sure that you typed all small caps, ‘Administrator’ won’t work.
- Step 3 – Click on ‘Login’ and enter ‘Settings’.
- Step 4 – After you entered ‘Settings’ choose ‘WiFi’ option to change the SSID of the WiFi, that means you can change the name of your WiFi network.
Changing SSID and Password of JioFi Router
No matter how hard and complicated it sounds, this process is very simple and it should be done quickly. All you need to do is log in and follow next instructions.
- 1 – Open Settings >> WiFi >> Password to change the default password.
- 2 – Open Settings >> User Management to change the admin password used to login into JioFi device settings.
You can also read this useful article: How to change your JioFi password
Connecting your Personal Computer with JioFi WiFi Hotspot Device
To be able to access the internet via WiFi receiving by Jio MiFi Dongle router, you need to connect it to your PC. That can be done simply by using MicroSD slot. However, since there is only one microSD slot on JioFi router, there can be only one PC connected at the time.
While your PC is tethered with JioFi router via microSD cable, it will charge it simultaneously.
Learn How to Access MicroSD Card Slot via JioFi Router
You start by inserting microSD card in the JioFi device. After that, you should set up the storage account and create username and password. Then you will be able to access the files stored on the SD card via any device which is connected to the JioFi hotspot through WiFi.
To access your data on microsD card, go on internet and enter this link http://jiofi.local.html/sdcard.html in your web browser. When you open this page, after clicking on WiFi disk button you will be asked to enter your username and password. With filling those fields, you will be able to access the files stored on the SD card, and even more, you can upload, download, or delete the files on the microSD card.
Features and Characteristics of Your JioFi Device
Accurate 4G Speed
The JioFi provides to its users a high-speed internet. Download speed up to 150 Mbps and upload speed up to 50 Mbps.
You can also read this useful article: How to increase JioFi slow internet speed
Jio Fi – 2G/3G to 4G WiFi Router
This means that 4G Data is available even on your 2G or 3G smartphones. Enjoy 4G VoLTE services, no matter what kind of mobile phone you have.
HQ Video and HD Voice Calls
You can now make video and HD voice calls, send SMS set up even (5+1) audio and (3+1) video conference calls via your Jio4GVoice app, which can be downloaded from Android Play Store or IOS App Store.
JioFi Device gives you the possibility to tether up to 32 devices at the same time. However, it is recommended to connect only up to 10 WiFi enabled devices, including smartphones, laptops, tablets, or smart TVs. You can also distribute data from one device to another.
Portable WiFi Hotspot Device
With the JioFi’s Go Device, you can now relax and enjoy knowing that you have strong internet connection no matter where you are going. You don’t have to search for an electrical outlet, because there is a built-in rechargeable battery in your router.
Strong and Long-lasting Battery
When you purchase JioFi router, it will be equipped with battery with capacity of 2300 mAh which supports 5-6 hours of continuous activity.
For more details about features of JioFi devices, visit official website of JioDongle.Local.html.
Set Up Your JioFi 3 Portable Hotspot Device
Like for other JioFi devices, you will get a step by step guide for this one, in case you find it hard to set it up and configure its settings. In this guide we’ll explain whole process, including portable hotspot management, troubleshooting and more.
- 1 – Open the box and check out if there is anything missing. Box should contain JioFi Router, Cable, Adaptor and Battery.
- 1 – Open the back cover of the device, put in your Jio SIM card and battery. Chip of the SIM card should be placed face down.
- 1 – Press and hold Power button and wait until router is turned on.
- 1 – After device is on, check on Signal indicator, WiFi indicator and Battery indicator, all of them should light up.
- 1 – If the Signal indicator lights Green, or Blue, that means that your JioFi 3 is in good network coverage.
- 1 – Set up of your devices is successfully finished, it is ready to use it.
Which JioFi router device to choose ?
If you don’t know which Jio device you should choose, just watch this long video which explains you the difference and the features of each model, thus you’ll be able to choose the one that fits your needs…
How to Log in via Jiofi.local.html and Set Up JioFi 3 MiFi Device
To have the possibility to all by yourself manage settings of your device, you need to visit the official web page of JioFi Portal, by following this link: http://jiofi.local.html. As soon as this step is complete, enter your User ID and Password in order to login. In both cases, type ‘administrator’ in. As before, all caps must be small.
When you are logged in, navigate to Settings >> WiFi to change the SSID of the WiFI (which is WiFi Network Name).
Changing SSID and Password on Your Jiofi 3 Router
When you enter admin page you will be asked to enter username and password to login. At first, to successfully log in you should type in default username and password, which you may find on the back of the box or on the back cover of the router.
Then you need to log in and go to Settings >> WiFi >> Password to change the default password, and again login and click on Settings >> User management to be able change the admin password, which will be used if you want to get into device settings.
You can also read this useful article: Everything you need to know about Jio Dongle
Well, now everything should be clear and explained in detail so we are hoping that you won’t have a problem with JioFi devices. In case that you need help with anything and you find something confusing and hard to do alone, don’t be shy to contact us. The easiest way to make contact is to write in comment section because we read all of it on a regular basis and we are waiting for your feedback. Sooner than you expected, someone will answer on all of your question and provide youwith the helpful advice.